I have a tutorial I'd like to share with you. I made it for Peppermint Creative. And...right now if you go there you can get this Silhouette file and/or a printable file for FREE. I know it's cutting it close, but it truly takes very little time to put it together.

Supplies Used:
- Cardstock
- Scissors or Cutting Machine (Silhouette)
- Double-Sided Tape
- Easter Grass
- Printer
- Candy
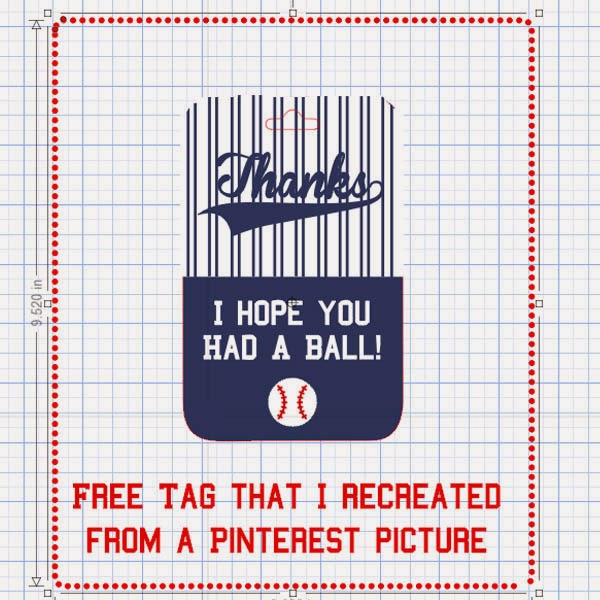
- Free Template

How to:
Easter is such a fun holiday for crafting. I couldn’t resist creating a cute egg shaped basket using my Silhouette machine and my favorite Easter themed digital scrapbooking kit Speckled Egg: Brights and I’m so excited to share my template with you. If you don’t have a Silhouette Cameo, don’t feel left out – I’ve also included instructions and a template to create this cute basket easily by hand with a pair of scissors as well. Instructions by hand (without using a Cutting Machine):
Print the template on fairly sturdy cardstock and cut it out.


Next fold along the dashed lines.

Add double sided tape and tape the box together.

Apply the egg to the top of the box with double sided tape. To finish the box, you can add the handle, or leave it off.

Now for the fun stuff. Add the Easter grass.

And the delicious candy and voila – you’re finished! It’s that easy.

Instructions for Silhouette SD/Cameo Users:
We will be using the Silhouette Cameo and the “Print and Cut” feature.
Print the basket with or without the egg already on it. Make sure that you turn on the registration marks so that you will be able to cut it out after it is printed.


You will find an 8.5×11” document with 2 eggs on it which you can use if you’d like to print the sheet and have the silhouette cut them out or you can add the included .PNG egg to your template and print and cut just once. If you are cutting the box and then the images, you will simply add a piece of white card stock to your mat and cut the box out.


Next you will cut the egg image out. You can see that I added other images from the kit on the paper so that I wouldn’t waste any paper.

Now on to the assembling. Fold at the dashed lines.

Next add the double-sided tape and tape the box together.

Apply the egg to both sides of the box. If you printed it with the egg already on the box, you will skip this step.

To finish your Easter “Egg” basket, You can either apply the handle or leave it off.
Now add the grass and the candy as shown above and you’re done.
To Get the FREE file go here!
I used the digital kit, Speckled Egg - Brights, from Peppermint Creative to make the basket.

I hope that EVERYONE has a HAPPY EASTER!!
Thanks so much for stopping by!
Tanya